
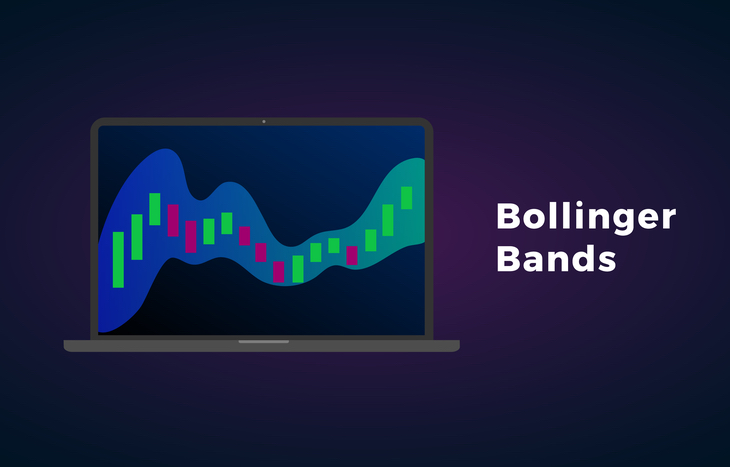
What are Bollinger Bands®?
Named after John Bollinger, a very successful technical analyst, Bollinger Bands® are a common tool among modern-day traders. Most trading platforms have them as a built-in feature, easily overlaid on a stock chart. But what are they? How do they work? What do they signify?
Bollinger Bands® are an extremely simple, yet powerful, measure of a stock’s volatility. They chart standard deviation from a simple moving average to help traders identify when a stock behaves outside of the parameters of its normal trading volume. Here’s a closer look at how beneficial they are when it comes to qualifying volatility.
How Bollinger Bands® Work
Bollinger Bands® create a price channel that’s overlaid onto a stock chart. It has three “bands:” high, low and average. The channel represents “acceptable” highs and lows based on a standard deviation from a rolling average stock price. Typically, the high and low bands are two standard deviations from the average band, measured over a 20-day period. The high and low bands expand and contract based on price volatility with each new trading period.
Bollinger Bands® provide an at-a-glance view of stock performance from a volatility standpoint. As the bands grow and contract, it’s easy to see the volatility of the stock’s price, which informs traders as to how much movement they might expect to see in a given day. This, in addition to showing the median.
The bands also serve as “guardrails” for stock price. When a price breaks the high or low threshold, it signals movement beyond the standard deviation. It’s a sign many traders look for as they prospect entry and exit opportunities.
The Formula for Bollinger Bands®
Almost every trading platform has Bollinger Bands® built-in as a default feature. Traders shouldn’t ever need to calculate them; however, it’s beneficial to understand the formula and the importance of rolling standard deviation. Here’s how to calculate both the upper and lower bands:
Upper Band = MA(TP,n)+m × σ[TP,n]
Lower Band = MA(TP,n)−m × σ[TP,n]
- MA = Moving average
- TP = Typical Price (High + Low + Close / 3)
- n = Number of days in smoothing period (20)
- m = Number of standard deviations (2)
- σ[TP,n] = Standard Deviation over last n periods of TP
If it’s not evident from this formula, moving average and typical price are critical in plotting Bollinger Bands®. Not coincidentally, these figures change with each new trading period. Thus, Bollinger Bands® represent a moving average and its standard deviations. It’s yet another reason to let your trading platform calculate them for you.
Low vs. High Periods of Volatility
One of the key concepts in reviewing Bollinger Bands® is that periods of low volatility typically follow periods of high volatility, and vice-versa. As the bands contract and get closer together, traders can reasonably assume that volume will soon ramp up into a price breakout. Likewise, if the bands expand due to large swings in volatility, it’s assumed that they’ll soon contract into a narrower channel after the volatility reaches its peak.
Traders commonly use Bollinger Bands® in conjunction with technical chart patterns to identify key upcoming breakout points. For example, a triangle or channel pattern shows a narrowing of price action, while the Bollinger Bands show recent volatility trends. When the two begin to reach an apex, it provides context for plotting entry or exit points.
What Happens When Prices Break the Bollinger Bands®?
There are times when stock prices break the floor or ceiling created by Bollinger Bands®. In doing so, it provides traders with instant insight into key factors affecting the stock.
- When the stock price breaks the ceiling, it means the company is overbought. Many traders take this as the sign of an impending pullback.
- When the stock price breaks the floor, it suggests that the company is oversold. This is a buy signal, and it’s expected that the stock’s price will rebound.
In simpler terms, prices that break the Bollinger Bands® are unjustifiably high or low. When they’re high, it’s an opportunity to short the stock; when they’re low, it’s a buying opportunity. Bollinger Bands® provide this information at a glance, which can prompt more technical or fundamental analysis of the company and its implied trajectory.
The 22 Rules of Bollinger Bands®
John Bollinger didn’t just create the concept of Bollinger Bands®—he also created a set of rules for using them. Many traders still adhere to the set of 22 principles he outlined. These principles set the criteria for how to evaluate price action within the bands, as well as signals for floor and ceiling interactions. Traders following these rules will find themselves using Bollinger Bands® as-intended by their creator.
That said, Bollinger himself admits that, “There are many ways to use Bollinger Bands®; these rules serve as a good beginning point.” Since their creation, many traders have used them in conjunction with their own technical analysis tools and techniques, as a framework for incorporating volatility into evaluation.
One of the Best Measures of Volatility
No matter how you use them, Bollinger Bands® are a tried-and-true metric for volatility—one of the most ubiquitous tools among traders. At a glance traders can see a stock’s average, as well as the acceptable range of deviation beyond that average. It’s a useful tool for surface-level analysis of trends, patterns and signals.
Bollinger Bands® aren’t just widely used—they’re widely trusted. As a pure measure of price volatility, few metrics come close to providing the instant level of insight offered by simple standard deviation.